Ever hit play on your favorite show and noticed the dialogue is muffled, the bass rattles the windows, or the music drowns out the actor’s lines? You’re not alone. Most people set up their streaming sound system and forget about it-until the audio ruins the experience. Calibrating sound for streaming isn’t about buying expensive gear. It’s about fixing what’s already in your room. With the right adjustments, even a basic soundbar can sound like it belongs in a studio.
Why Your Room Is Killing Your Sound
Your speakers don’t live in a vacuum. They live in your living room, bedroom, or home theater-spaces full of hard surfaces, furniture, carpets, and windows. These reflect, absorb, and distort sound in ways you can’t hear until you listen critically. A flat frequency response on paper means nothing if your couch is absorbing midrange frequencies or your TV stand is causing bass buildup in one corner.Most streaming audio is mixed for neutral environments-studios with acoustic treatment. Your room? It’s the opposite. That’s why dialogue sounds thin, explosions feel muddy, or surround effects seem disconnected. Room correction fixes this by measuring how sound behaves in your space and then applying the opposite to cancel out the problems.
What Is Room Correction?
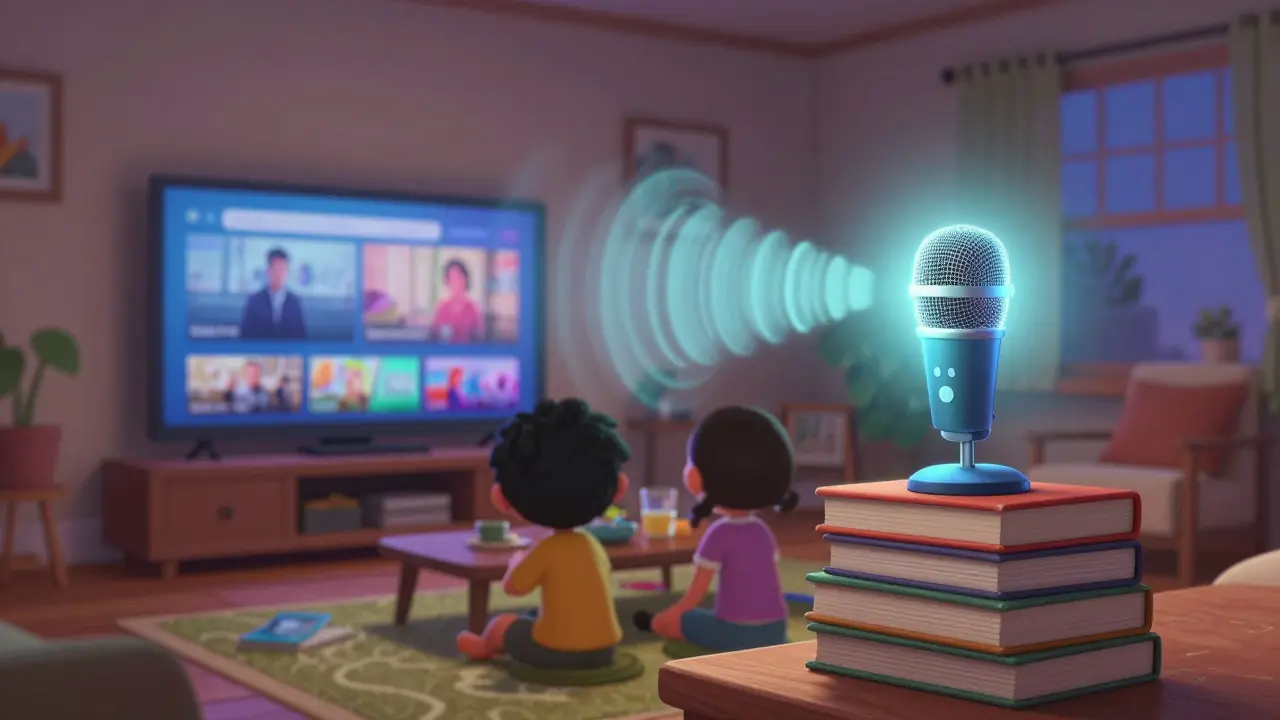
Room correction is software that analyzes how sound travels in your room and applies digital filters to balance it out. It doesn’t change your speakers. It changes how the signal reaches them. Think of it like glasses for your audio system.Modern AV receivers, soundbars, and even some streaming apps (like Apple Music and Tidal) include built-in room correction. Brands like Audyssey (Denon, Marantz), Dirac Live, YPAO (Yamaha), and ARC (Anthem) use microphones to play test tones and map out reflections, delays, and frequency dips. The system then creates a correction profile tailored to your setup.
You don’t need a $2,000 system to use it. Even a $300 soundbar like the Sonos Arc or Bose Smart Soundbar 900 includes room correction. All you need is the app, a smartphone, and 10 minutes. Place the mic where your head sits when you’re watching-no more, no less. Don’t hold it. Don’t move around. Just sit still. The system will tell you if the mic is too close to a wall or if background noise is interfering. Follow the prompts. It’s that simple.
EQ Basics: Fixing What Room Correction Misses
Room correction handles the big problems-bass booms, echo delays, uneven frequency response. But EQ (equalization) lets you fine-tune what you actually hear. This is where you make it feel right.Most people crank the bass because movies feel “flat.” But that’s usually because midrange is missing, not because bass is weak. Try this: turn down the bass by 3 dB. Then boost the midrange (around 1-3 kHz) by 2 dB. Suddenly, voices pop. You’ll hear the actor’s breath, the rustle of clothes, the clink of a glass. That’s the sweet spot.
Use your streaming device’s built-in EQ. On Apple TV, go to Settings > Audio and Video > Audio Output > Audio EQ. On Roku, use the Roku Mobile App > Settings > Audio > Audio Equalizer. Android TV and Fire Stick have similar options. You’ll see presets like “Movie,” “Music,” “News.” Don’t trust them. Start with “Flat” or “Off.” Then tweak manually.
Here’s a real-world starting point for streaming content:
- Bass (60-120 Hz): -2 dB to -4 dB (cuts rumble from HVAC or subwoofer boom)
- Low-Mid (200-500 Hz): -1 dB to -2 dB (reduces boxiness from TV speakers)
- Midrange (1-3 kHz): +2 dB to +3 dB (makes dialogue clear)
- High-Mid (4-6 kHz): +1 dB to +2 dB (adds presence to voices)
- Treble (8-12 kHz): +1 dB (brightens without hiss)
These aren’t magic numbers. They’re a baseline. Listen to a scene from The Crown or Stranger Things where characters talk over quiet background music. If you can understand every word without subtitles, you’re on track.
Where to Place Your Mic for Best Results
Room correction only works if you measure correctly. Many people place the mic on the coffee table. That’s wrong. The mic should sit where your head is during playback. That’s your sweet spot.Use a tripod, a stack of books, or even a phone stand. Position it at ear height, about 2-3 feet from your head. Don’t point it at the speakers. Point it straight up. The mic picks up reflections from all directions. If it’s tilted, the system gets confused.
Measure in the same position every time. If you move your couch, remeasure. If you add a rug, remeasure. Small changes make big differences. I’ve seen people get a 10 dB bass spike from moving their sofa 12 inches. That’s not the speakers-it’s the room.
What Room Correction Won’t Fix
Room correction is powerful, but it’s not a miracle cure. It can’t fix:- Bad speaker placement: If your subwoofer’s in a corner, no amount of EQ will make it sound natural. Try moving it 1-2 feet away.
- Low-quality audio sources: Streaming at 128 kbps MP3? No EQ will make it sound like CD quality. Use lossless if your service supports it (Apple Music, Tidal, Amazon HD).
- Overpowered bass: If your subwoofer is too loud, turn it down. Room correction can’t remove physical distortion.
- Reflections from glass or tile: Hard surfaces cause echoes. Add a curtain, a rug, or even a blanket behind the couch. You don’t need professional acoustic panels.
One common mistake: people use room correction and then turn up the volume to “feel the bass.” That undoes everything. Calibration is about accuracy, not loudness. After calibration, you’ll notice you can listen at lower volumes and still hear every detail. That’s the goal.
Test Tracks to Use After Calibration
Don’t trust your ears alone. Use known reference tracks to check your work:- “The Dark Knight” (2008) - “Why So Serious?” scene: Listen for the Joker’s voice. Is it clear over the chaos? If it’s buried, your midrange needs help.
- “Soul” (2020) - “Joe’s Theme”: Piano should sound natural, not tinny or boomy. If it sounds like a toy piano, your high-end is too bright or bass is overpowering.
- “Chernobyl” (2019) - Episode 1: The quiet moments before the explosion. Can you hear the wind, the radio static, the footsteps? If not, your dynamic range is compressed.
- “The Mandalorian” - “Chapter 1”: The theme music has deep bass and crisp percussion. If the bass rattles the walls, your sub is too loud. If you can’t feel it, it’s too quiet.
These aren’t just entertainment-they’re diagnostic tools. Use them after every calibration.
Quick Checklist: Your 10-Minute Sound Calibration Routine
- Turn off all background noise (fans, AC, pets).
- Place your mic at ear height, where your head sits.
- Run room correction using your system’s app (Audyssey, Dirac, ARC, etc.).
- After calibration, play a dialogue-heavy scene from a Netflix show.
- Use your device’s EQ to boost 1-3 kHz by +2 dB if voices are soft.
- Reduce bass by -3 dB if explosions feel muddy.
- Listen for 5 minutes. If it feels natural, you’re done.
Do this once every three months. Furniture moves. People rearrange. Your ears adapt. Keep it fresh.
Common Mistakes to Avoid
- Using “Movie” mode without checking: These presets are designed for theaters, not living rooms. They often boost bass and treble too much.
- Calibrating with headphones: Room correction only works with speakers. Headphones bypass your room entirely.
- Ignoring speaker distance settings: If your receiver thinks your speakers are 10 feet away but they’re actually 6 feet, the timing is off. Double-check these settings.
- Thinking more bass = better: Real bass is felt, not heard. If you can feel the rumble in your chest, it’s good. If you hear it as a boom, it’s wrong.
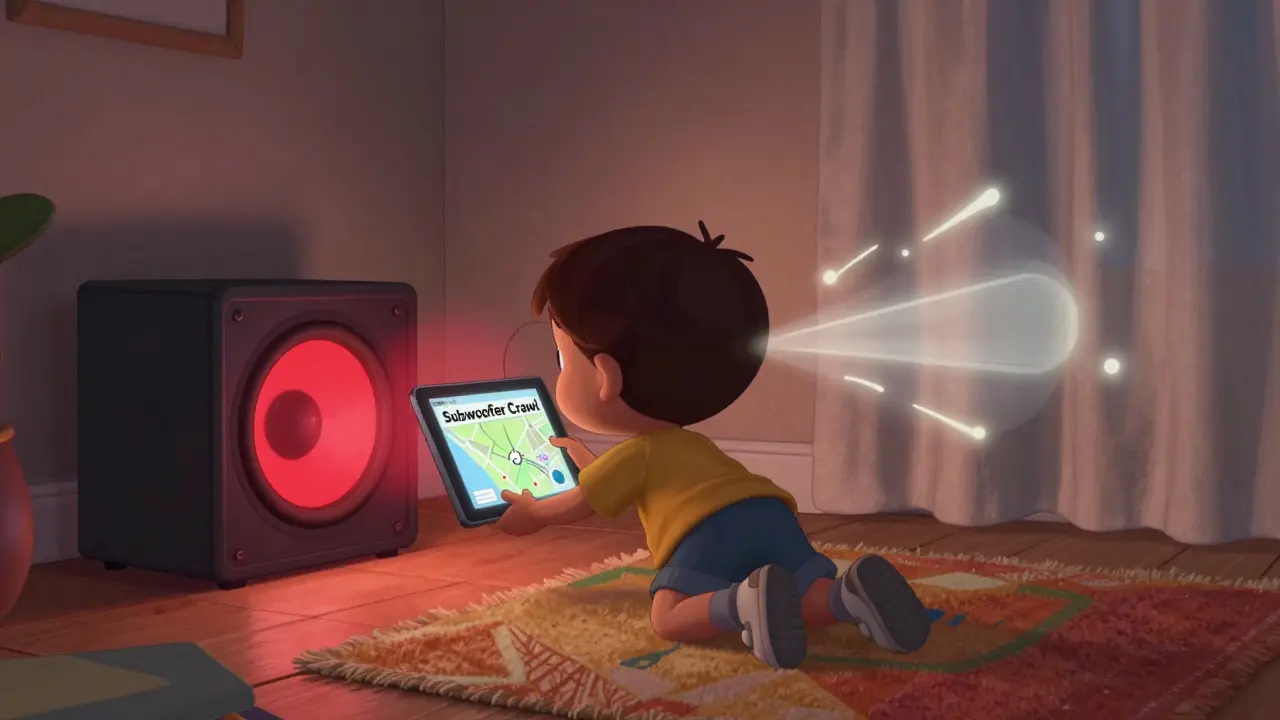
One last tip: if you’re using a soundbar with a separate subwoofer, place the sub at least 2 feet away from walls. Corners amplify bass too much. Try the “subwoofer crawl”: put the sub where you sit, play bass-heavy music, then crawl around the room listening for where the bass sounds best. That’s where you put it.
Do I need a microphone to calibrate my sound for streaming?
Yes, if you’re using built-in room correction like Audyssey, Dirac Live, or ARC. These systems rely on a microphone to measure how sound behaves in your room. Without it, you’re just guessing. Even a smartphone mic works fine-most systems guide you through the process. Skip the mic, and you skip the real fix.
Can I calibrate sound for streaming without an AV receiver?
Absolutely. Most modern soundbars-like Sonos, Bose, Yamaha, and LG-include their own room correction via smartphone apps. You don’t need a receiver. Just plug in your soundbar, open the app, follow the mic prompts, and you’re done. Even Apple TV and Android TV let you tweak EQ directly.
Why does dialogue still sound quiet after calibration?
It’s likely your midrange frequencies (1-3 kHz) are still too low. Room correction often focuses on bass and overall balance. Dialogue lives in the midrange. Boost that band by +2 dB using your device’s EQ. Also check if your system has a “Dialogue Enhancement” or “Voice Clarity” setting-turn it on. Some systems disable it by default.
Is room correction worth it for a basic soundbar?
Yes, especially if you’re watching streaming content daily. Even a $200 soundbar can sound dramatically better with room correction. The difference isn’t in volume-it’s in clarity. You’ll hear subtle effects, background music, and voices you never noticed before. It’s the difference between hearing a movie and being in it.
Should I recalibrate after moving my speakers?
Always. Even a small change-like shifting your couch 6 inches or adding a rug-changes how sound bounces. Room correction is location-specific. If you rearrange your room, run the calibration again. It takes five minutes and makes a huge difference.
Sound calibration isn’t a one-time setup. It’s a habit. Like cleaning your lenses or updating your software, it keeps your experience sharp. You don’t need to be an audiophile. You just need to care enough to listen.