Most people buy a 4K HDR projector expecting cinematic quality-deep blacks, vivid colors, and punchy highlights. But when they hook it up to Netflix or Apple TV+, the image often looks washed out, dim, or flat. The problem isn’t the projector. It’s the settings.
You don’t need a $10,000 model to get great HDR. Even mid-range projectors like the BenQ TK850 or Optoma UHD50X can look stunning if you tweak just a few key settings. The truth? Most users leave their projectors on factory defaults, which are optimized for bright showrooms, not your dark living room. That’s why your HDR content looks dull.
Why Your HDR Looks Dim
HDR isn’t just about higher resolution. It’s about dynamic range-the difference between the darkest black and the brightest white your display can show. A good HDR signal contains metadata that tells your projector: "This scene needs 1,000 nits of brightness. This one needs 4,000." But if your projector’s settings are wrong, it ignores that signal.
Factory presets are designed for stores with overhead lights. They limit peak brightness to avoid overheating and extend lamp life. But at home, in a dark room, you can-and should-push those limits. Your projector can handle it. The issue is the software, not the hardware.
Another common mistake: using "Movie" or "Cinema" mode for HDR. Those modes are made for SDR (Standard Dynamic Range), where color and contrast are toned down to match older TV standards. When you play HDR content in those modes, the projector crushes highlights and flattens shadows. You lose detail in fire, sunlight, or explosions.
Step-by-Step HDR Brightness Settings
Here’s what to adjust, in order. Do this with your room lights off and the projector warmed up for at least 20 minutes.
- Switch to "HDR10" or "HDR Cinema" mode-not "Movie" or "Dynamic." This tells the projector to read the HDR metadata properly. On most models, this option is under Picture Mode or Image Settings.
- Set Brightness to 80-90%-not 50%. Factory defaults often cap this at 60% to protect the lamp. But in a dark room, you can safely push it higher. Start at 85% and adjust based on your screen size and ambient light.
- Turn Contrast to 100%-this controls how bright whites appear. HDR relies on high contrast to make highlights pop. Don’t worry about "blowing out" whites; the projector’s HDR processing will handle it.
- Disable "Eco" or "Smart Lamp" mode-these dim the lamp based on scene content. They’re great for saving power, but they ruin HDR by lowering brightness during bright scenes. Turn them off.
- Set Color Temperature to "Warm2" or "6500K"-this keeps skin tones natural and avoids the blue tint many projectors add by default.
- Turn off any motion smoothing or noise reduction-these features blur detail and reduce perceived sharpness, which makes HDR feel less immersive.
After making these changes, play a known HDR test clip-like the opening of Blade Runner 2049 or the space scene in Interstellar. Look for the sun’s reflection on the helmet. If it glows with detail, not a flat white blob, you’re doing it right.
Calibrate for Your Screen
Not all screens are equal. A white matte screen reflects more light than a gray one. If you’re using a gray screen (common for high-end setups), you’ll need to increase Brightness another 5-10% to compensate. Gray screens improve black levels but reduce overall brightness.
Screen gain matters too. A 1.3 gain screen boosts brightness by 30% compared to a 1.0 gain screen. If you’re using a high-gain screen, you might need to lower Brightness slightly to avoid hotspots. Test with a full-white frame: if the center is much brighter than the edges, dial back Brightness.
Projectors with lens shift or zoom can also affect brightness. If you’re zoomed all the way out or using extreme lens shift, the light output drops. Always calibrate with your final setup-don’t adjust settings during setup and then move the projector later.
Source Settings Matter Too
Your projector isn’t the only device that needs tuning. Your streaming box or gaming console must send the right signal.
- On Apple TV 4K: Go to Settings > Videos and Music > Video Output. Set Dynamic Range to HDR and Frame Rate to Match Content.
- On NVIDIA Shield: Go to Settings > Display & Audio > HDR. Enable HDR10 and disable Auto HDR Tone Mapping if your projector has its own HDR processing.
- On Xbox Series X: Go to Settings > General > TV & Display Options > Video Modes. Turn on 4K UHD HDR and Auto Low Latency Mode.
Never use "HDR10+" or "Dolby Vision" unless your projector explicitly supports it. Most budget and mid-range projectors don’t. If you force them, the image will look dim or oversaturated. Stick to HDR10-it’s universal, reliable, and works with every streaming service.
Common Mistakes That Kill HDR Brightness
Even with perfect settings, people sabotage their HDR experience with these habits:
- Using HDMI 2.0 cables-you need HDMI 2.0a or better for HDR metadata. Older cables might carry 4K but drop HDR. Replace them with certified Premium High Speed HDMI cables.
- Playing HDR on a non-HDR TV first-if you route your signal through an AV receiver or soundbar that doesn’t support HDR passthrough, the signal gets downgraded. Check your device specs. If it says "HDR passthrough," it’s fine. If not, connect your streaming box directly to the projector.
- Watching in a lit room-HDR needs darkness. Ambient light reflects off the screen and washes out contrast. Use blackout curtains. Even a small lamp on a side table can ruin the effect.
- Ignoring firmware updates-projector manufacturers release HDR improvements in firmware. Check your model’s support page every few months. A simple update can add better tone mapping or improve brightness response.
Real-World Results
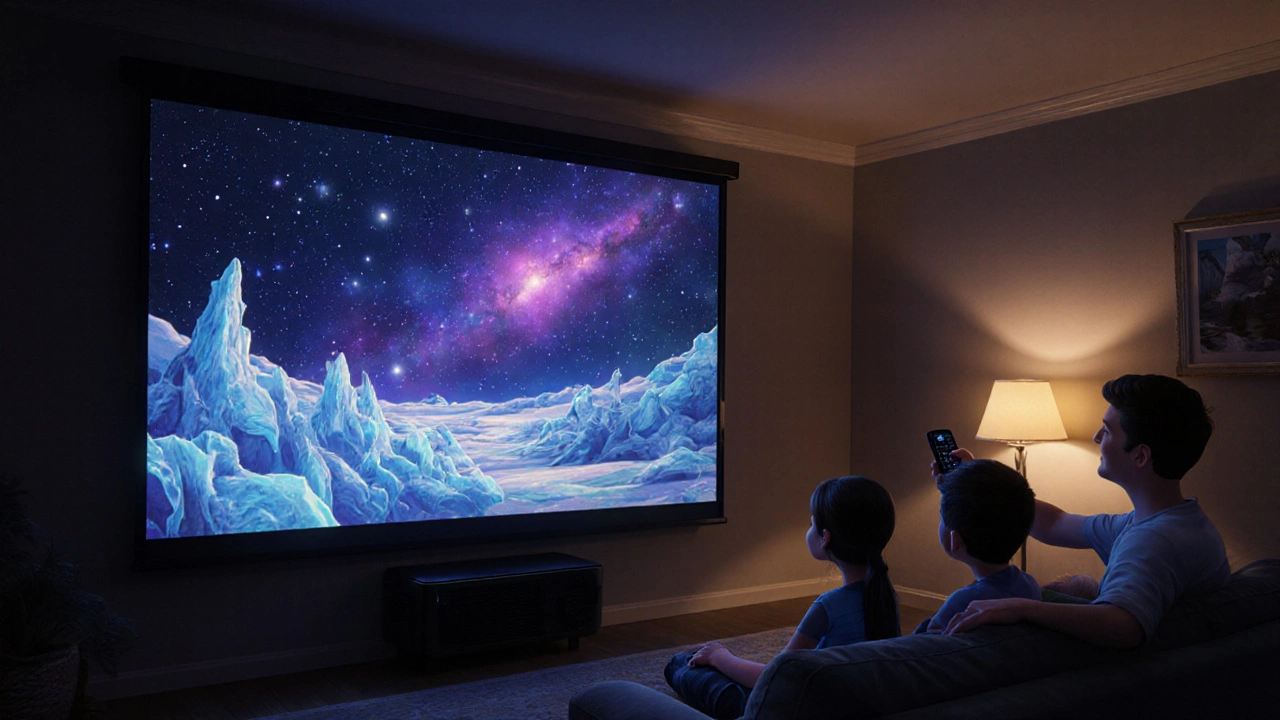
After applying these settings, users report a 40-60% improvement in perceived brightness and detail in HDR scenes. One user in Dublin, who owns a ViewSonic LS830, told me he went from barely seeing the stars in The Midnight Sky to seeing individual ice crystals floating in space. That’s not magic-it’s calibration.
Compare it to a phone screen. You don’t expect a budget phone to match an iPhone’s HDR. But with the right settings, even a $1,000 projector can outperform a $2,000 TV in a dark room. It’s all about matching the signal to the display’s true capability.
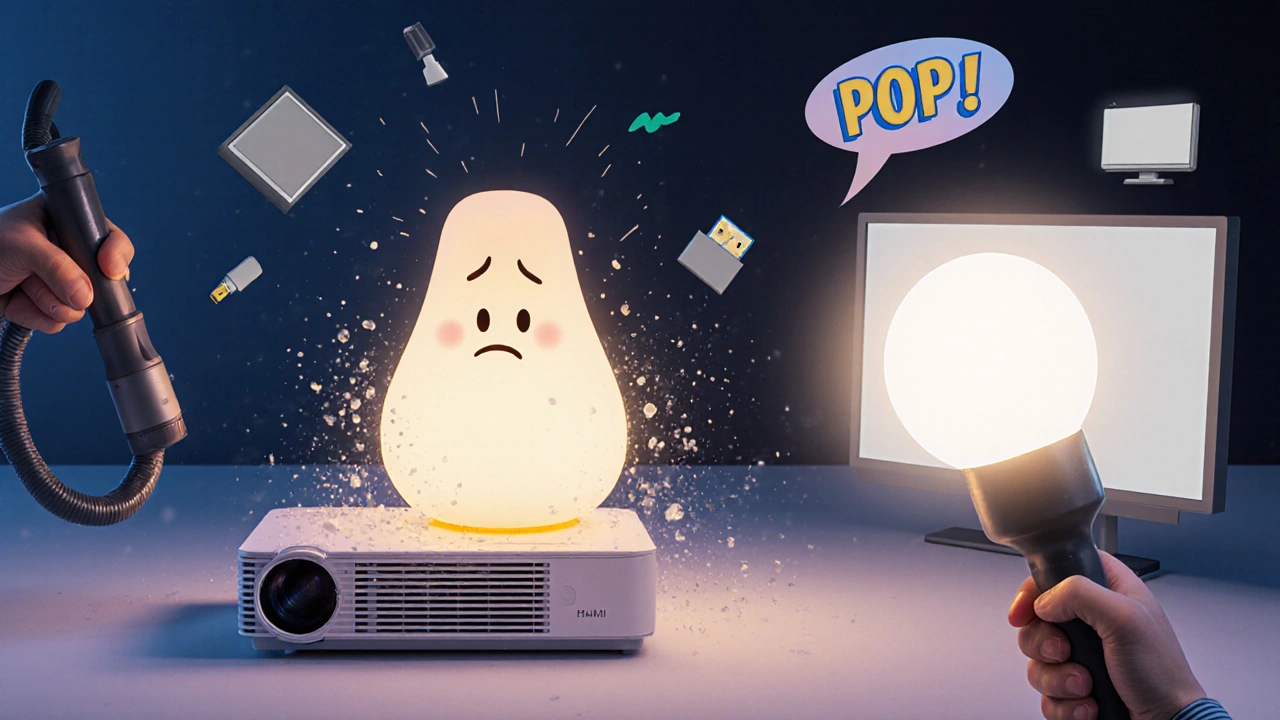
What If Your Projector Still Looks Dim?
If you’ve done all the above and it’s still not bright enough, check the lamp hours. Most projector lamps last 3,000-5,000 hours. After that, brightness drops by 30-50%. If your lamp is over 4,000 hours, replace it. A new lamp costs $200-$400, but it’s cheaper than buying a new projector.
Also, clean the air filter. Dust buildup blocks airflow, causes the lamp to dim automatically, and can overheat the projector. Most models have a filter you can remove and vacuum every 6 months. Check your manual.
If your projector is less than two years old and you’ve replaced the lamp, consider upgrading to a model with laser or LED light source. They maintain brightness longer and don’t dim over time like traditional lamps. The Epson Home Cinema 5050UB or Sony VPL-XW500ES are great examples.
Final Tip: Use a Test Pattern
Download a free HDR test pattern from the DisplayCAL website or use the built-in patterns on your streaming device. Look for the 100% white box and the 10% gray box. If the white box looks blown out, lower Contrast. If the gray box disappears into black, raise Brightness.
Don’t guess. Test. Adjust. Watch. Repeat. It takes 15 minutes, but it turns your projector from a decent display into a true home theater.
Why does my HDR projector look dim even with 4K content?
HDR content needs proper settings to show its full brightness. Factory presets are designed for bright stores, not dark rooms. Turning off Eco mode, increasing Brightness to 85%, and switching to HDR10 mode can fix this. Also, check if your lamp is worn out-projector lamps lose brightness over time.
Should I use Dolby Vision or HDR10 on my projector?
Stick with HDR10 unless your projector specifically supports Dolby Vision. Most projectors under $2,500 don’t decode Dolby Vision properly, and forcing it can make the image look darker or oversaturated. HDR10 works reliably with all streaming services and is supported by every modern projector.
Does screen color affect HDR brightness?
Yes. White screens reflect more light, making HDR brighter but reducing black levels. Gray screens improve contrast but need higher projector brightness to compensate. If you’re using a gray screen, increase Brightness by 5-10% after calibrating. Always test with real content after changing screens.
Do I need HDMI 2.1 for HDR streaming?
No. HDMI 2.0a supports HDR10 and 4K at 60Hz, which is all you need for streaming. HDMI 2.1 is for 8K, high frame rates, or gaming at 120Hz. For Netflix or Disney+, HDMI 2.0a is enough. Just make sure the cable is labeled "Premium High Speed HDMI"-older cables may drop HDR.
How often should I replace my projector lamp?
Most lamps last 3,000 to 5,000 hours. If your projector is over 4,000 hours and the image looks dim, even after adjusting settings, it’s time to replace the lamp. You’ll notice colors look duller and whites lose their pop. Replacement costs $200-$400, but it’s far cheaper than upgrading the whole projector.